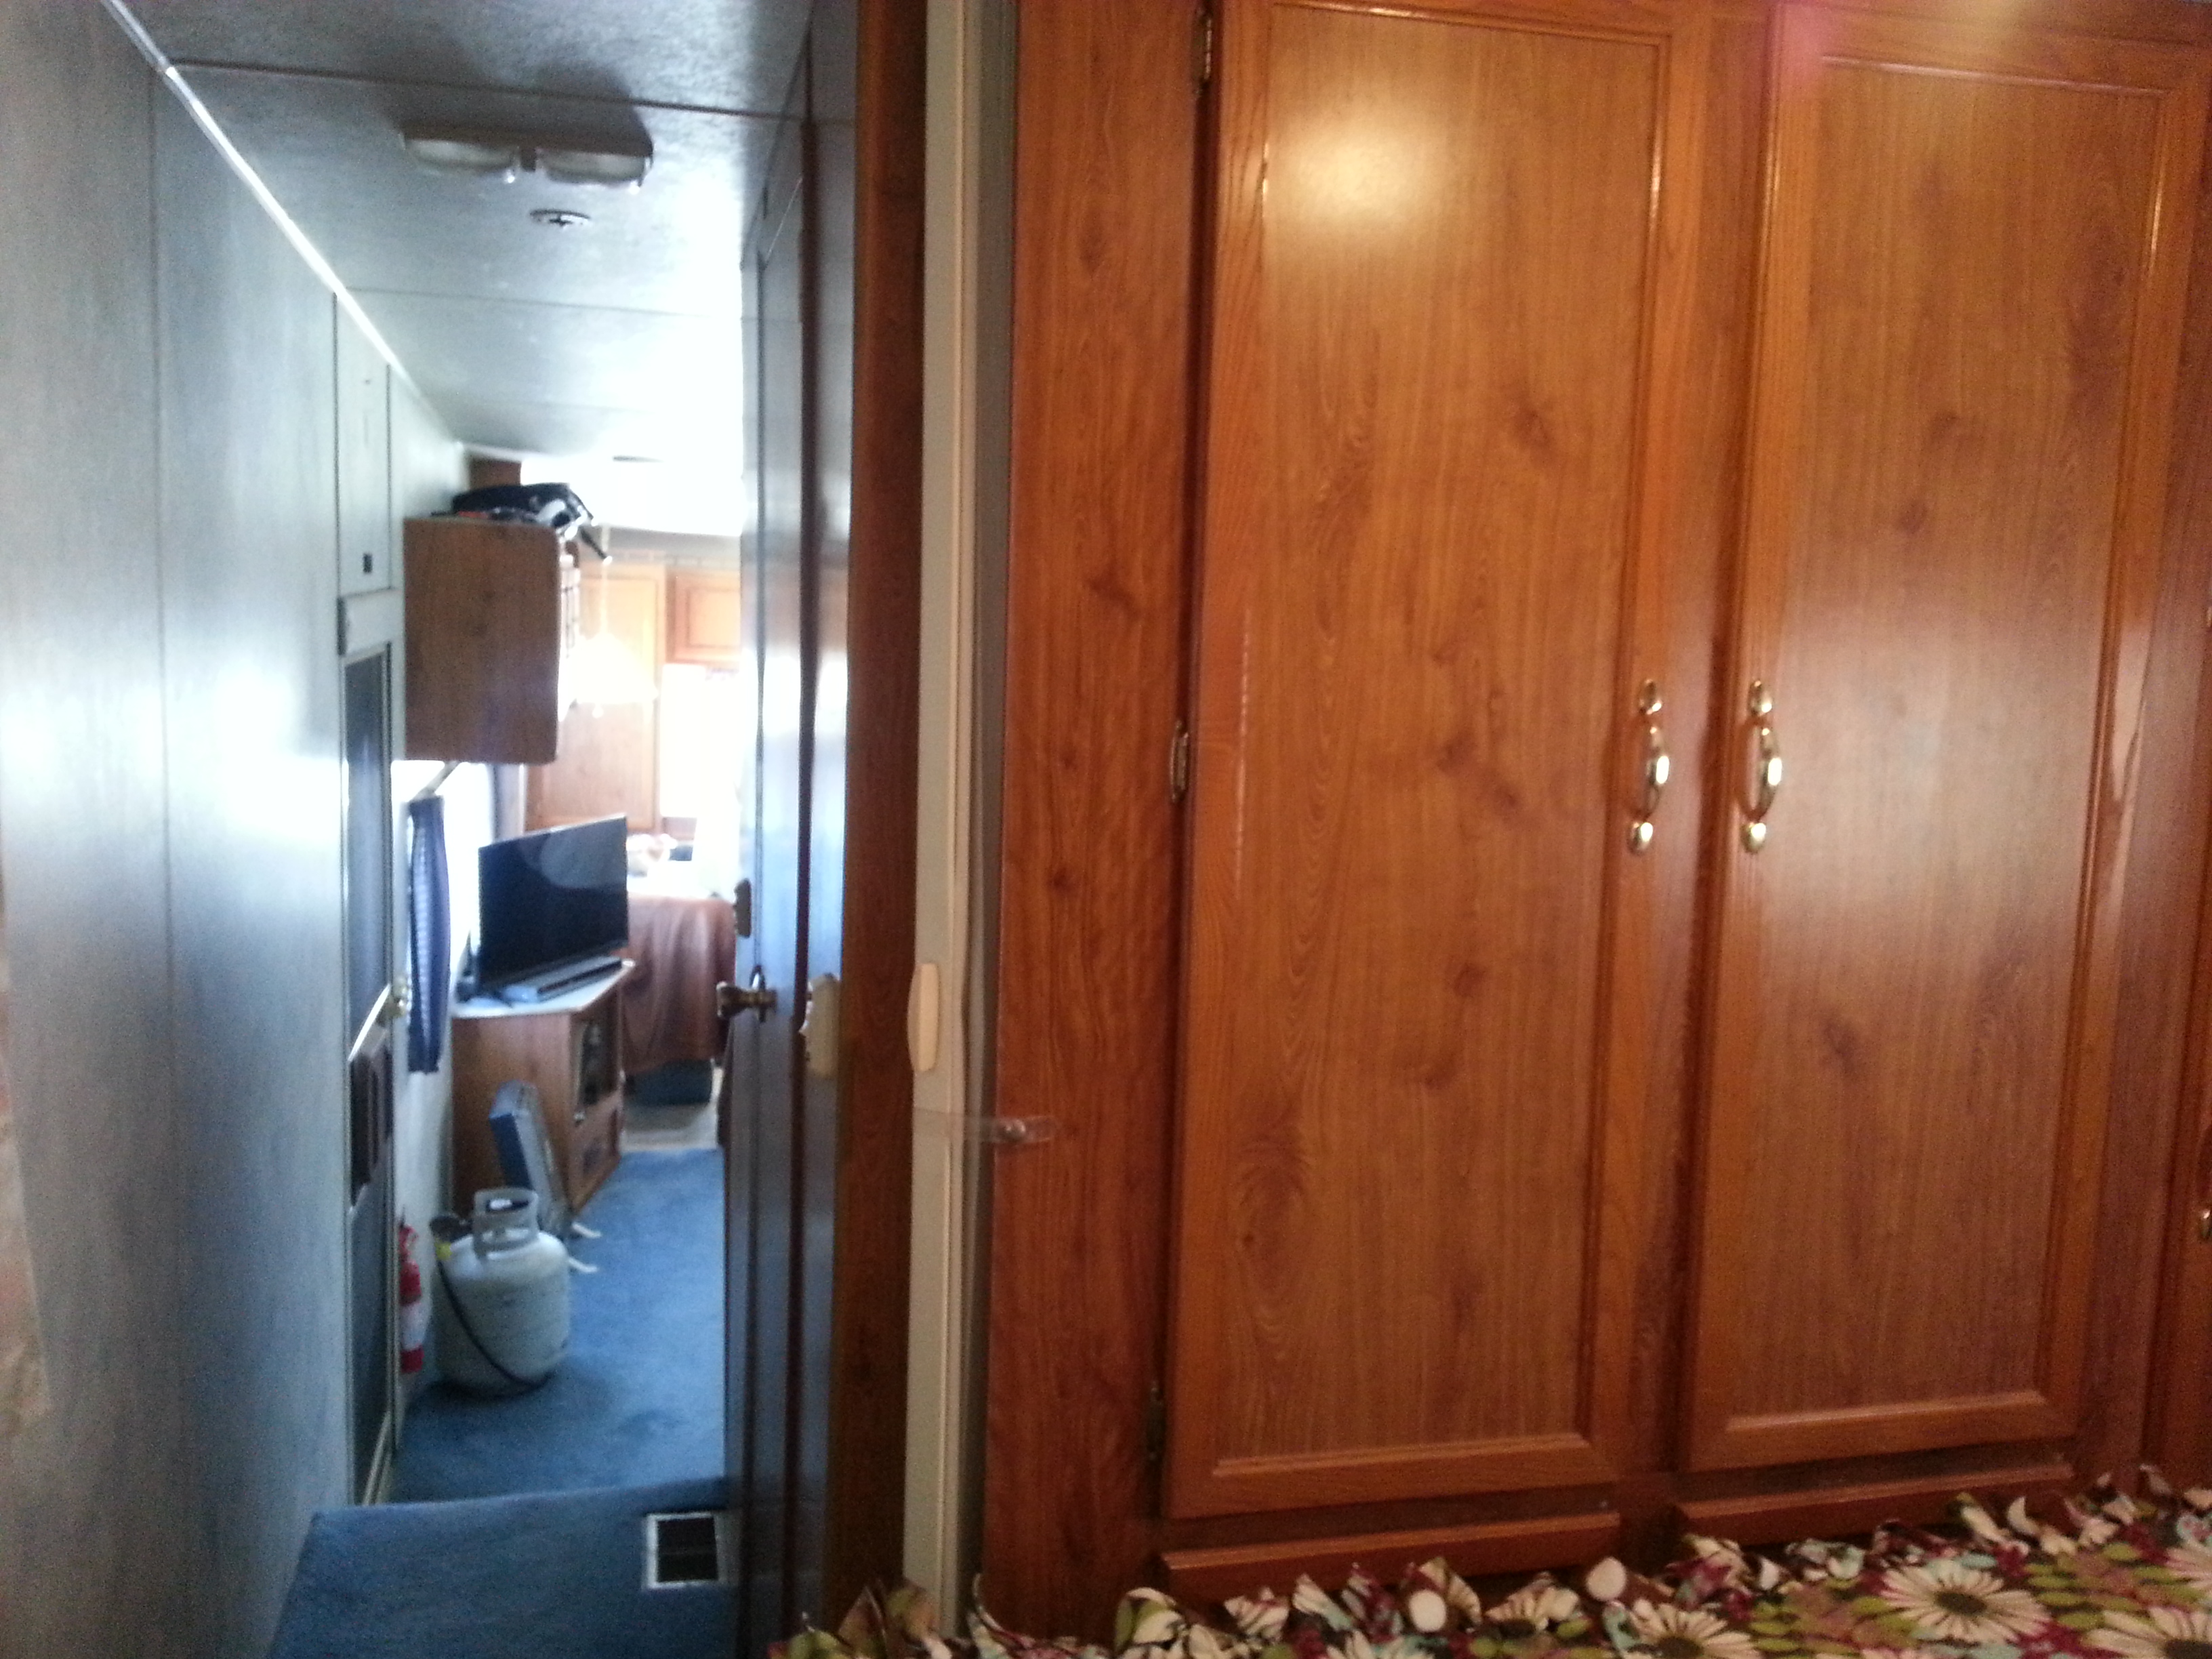
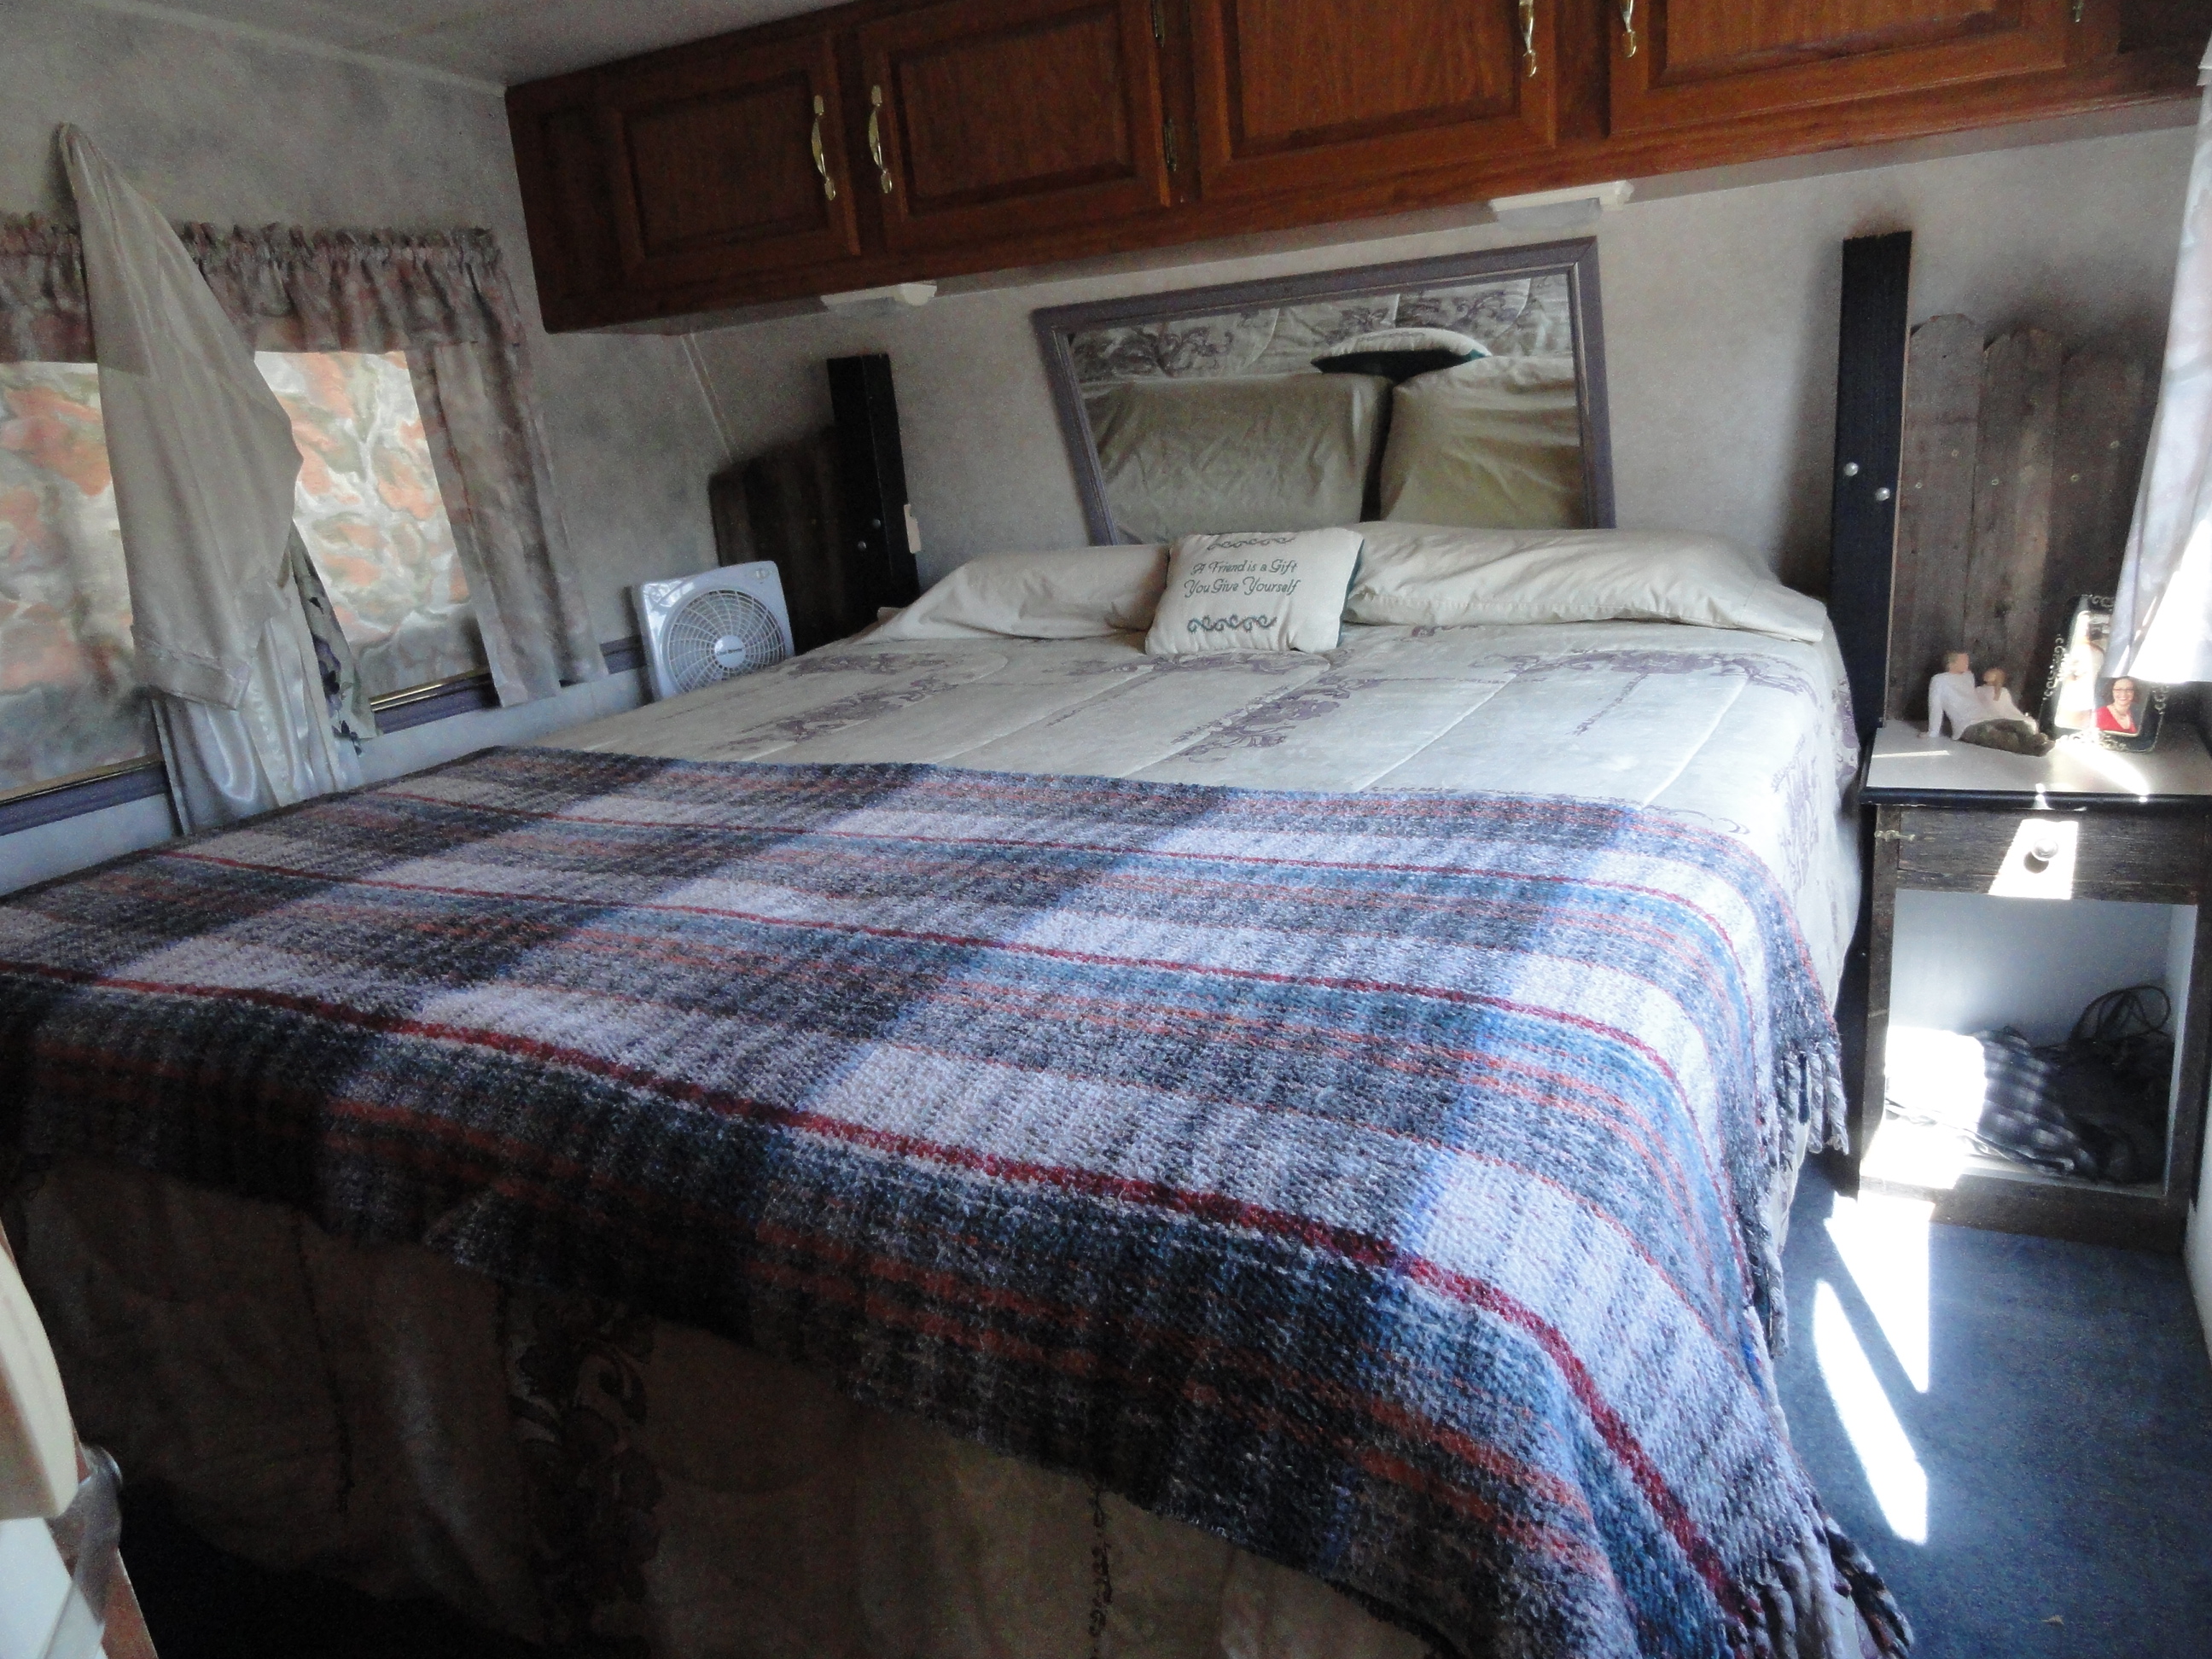
When we bought our 33′ fifth wheel, the bedroom in the front end was just a carpeted room. There is a closet between the bedroom and the bathroom (accessible from either side) and a row of built-in overhead cabinets up next to the ceiling at the front end but that was it. I think it originally had smaller beds (maybe twin size?) on each side (running front to back) with a built-in night stand between them but all of that was long gone. I modified and added my famous (11,968 views and counting!) one-piece headboard with attached night stands from storage and we just put the mattress and box spring on the floor:
https://www.instructables.com/id/Headboard-Nightstands-Combo/

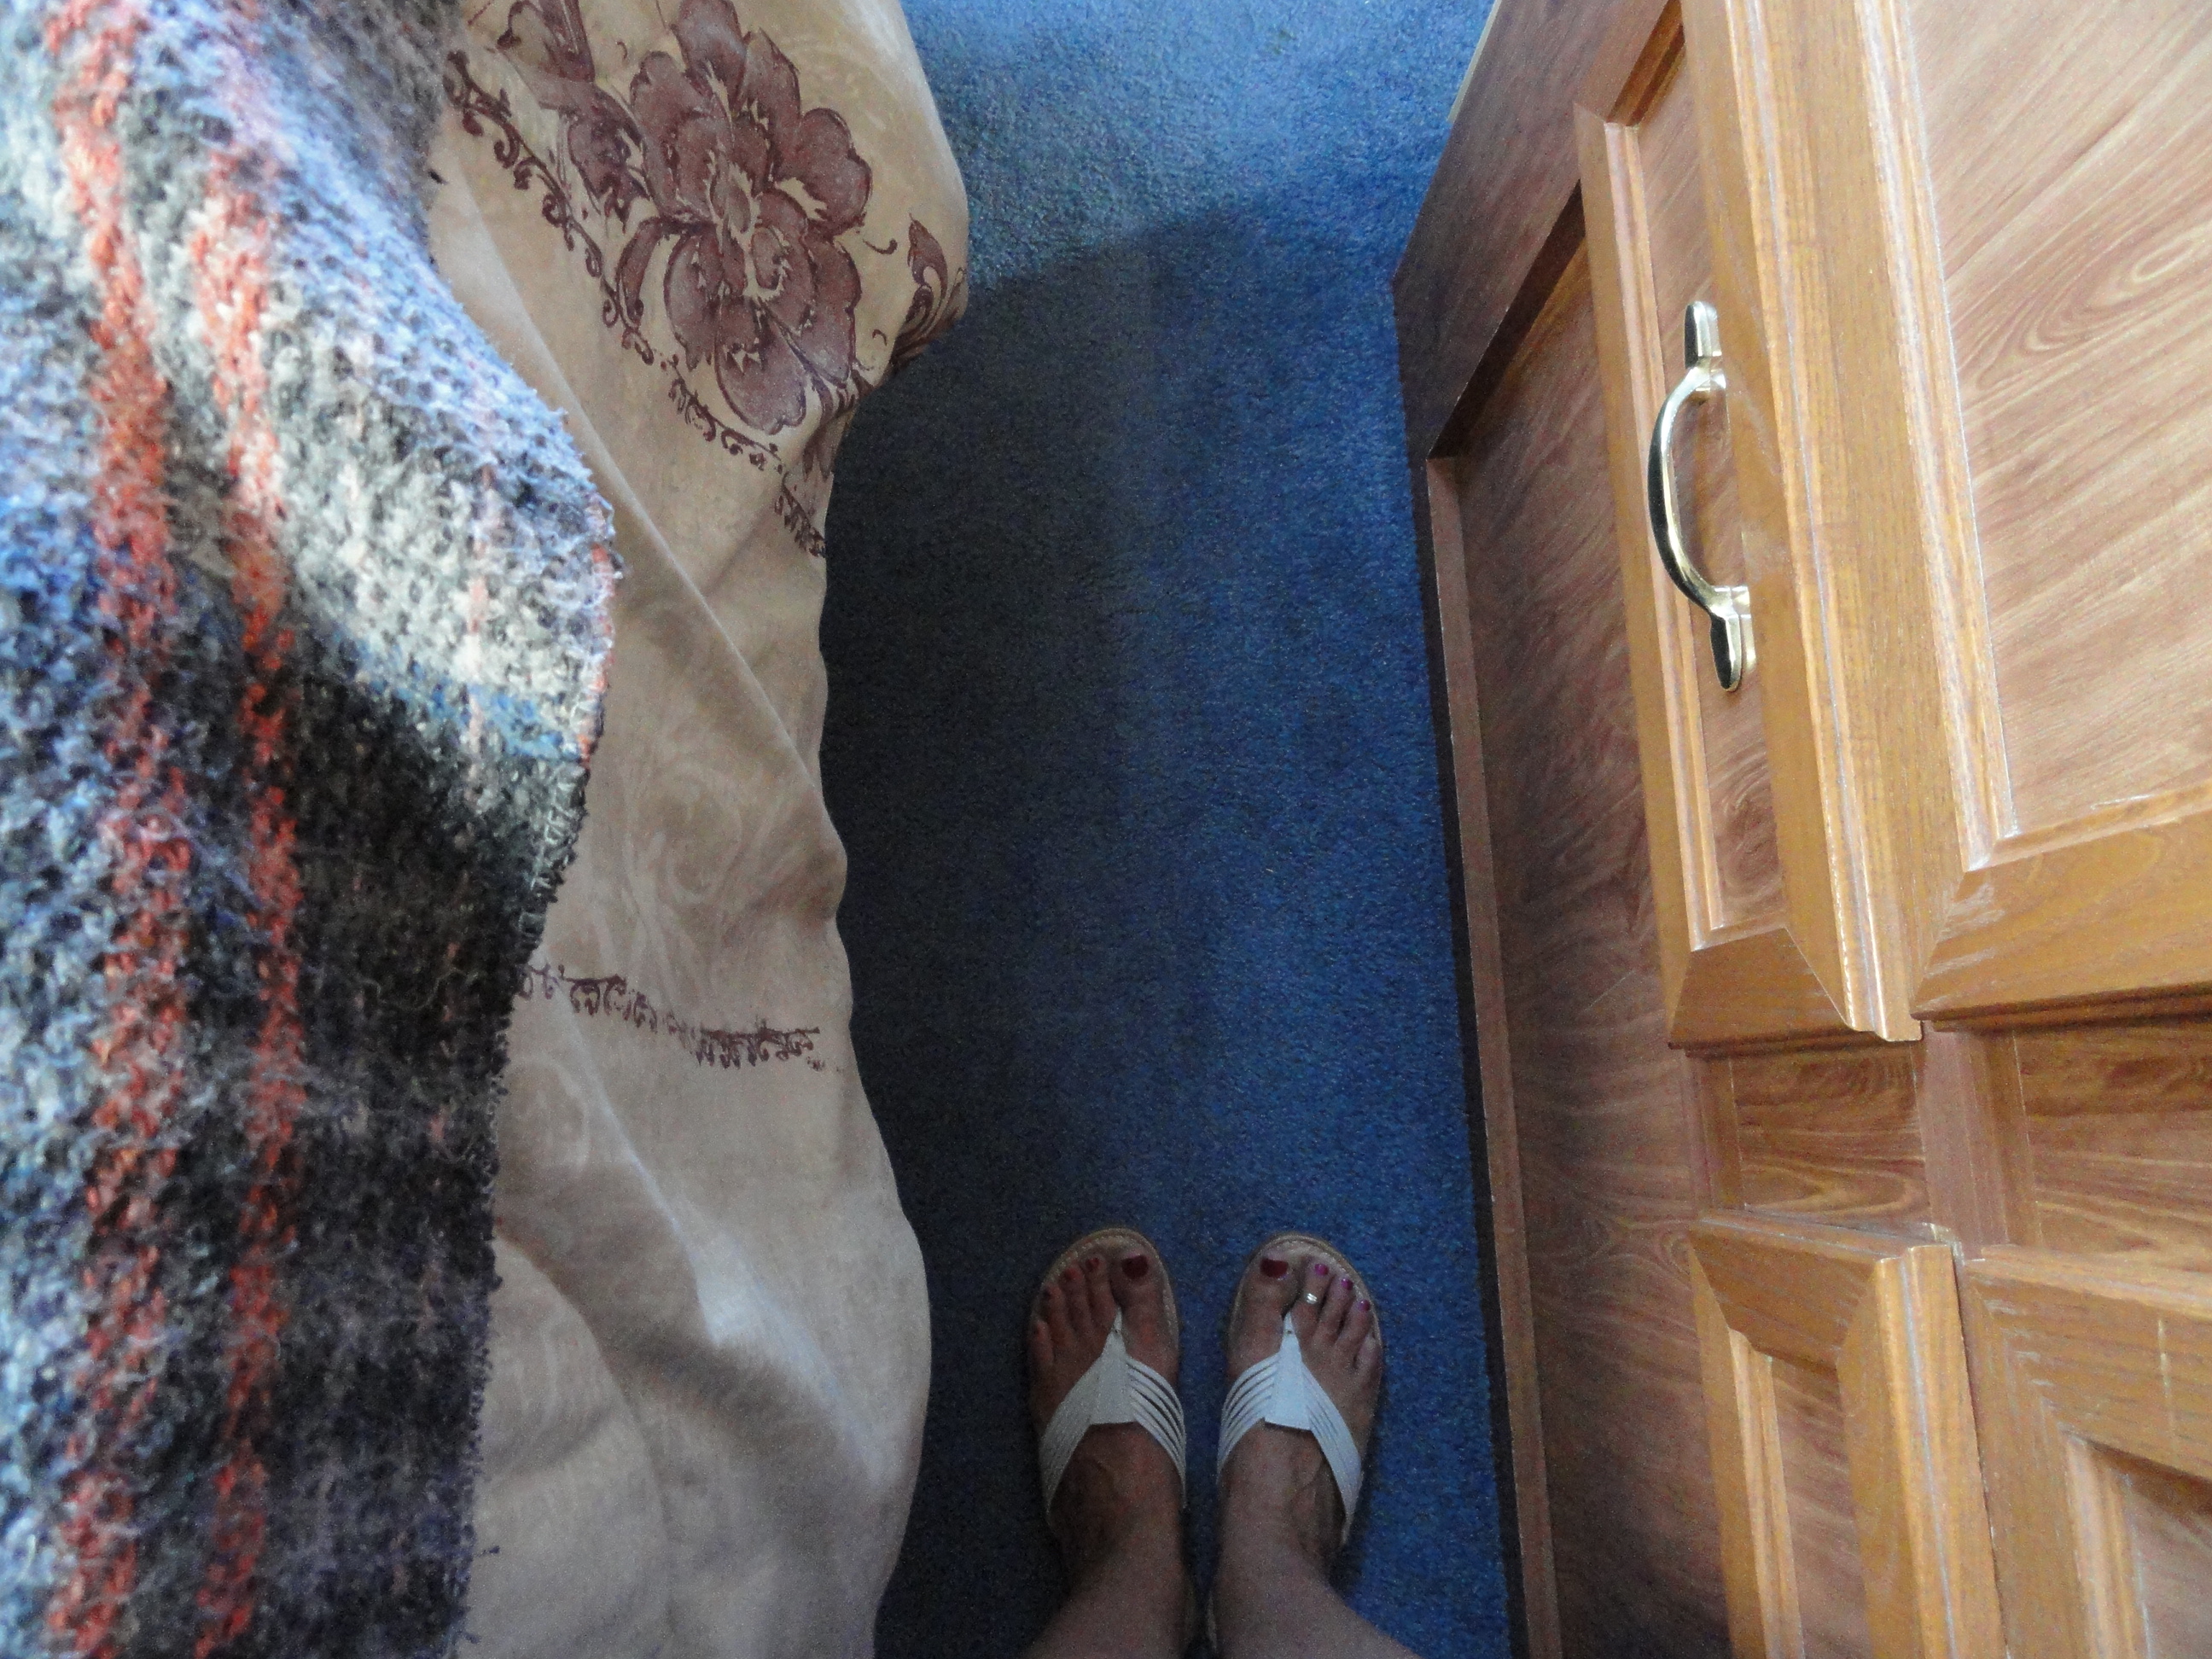
That served us well enough for 20 months of fulltiming but our full length (6’8″ long) queen-size bed left very little room at the foot of the bed. Annie always had to squeeze through that narrow gap on one leg; kneeling on the bed with the other — not very convenient for her.
 With the shape of the front end of our RV, I always knew if I could raise the bed up some and slide it forward, we could get another 8″ or so at the foot of the bed = more than twice what we’ve been living with. While at brother Greg and Renee’s house in Eatonville, WA this year (Jun/Jul 2017 — eating their fabulous BBQ, top shelf yummy food, and drinking world-class cocktails :), we decided to take the plunge and build a storage enclosure under the mattress and simply ditch the box spring (they don’t have springs in them these days anyway so what’s the point of even having a “box spring”?) at a big box store (much to brother Greg’s chagrin. 🙂
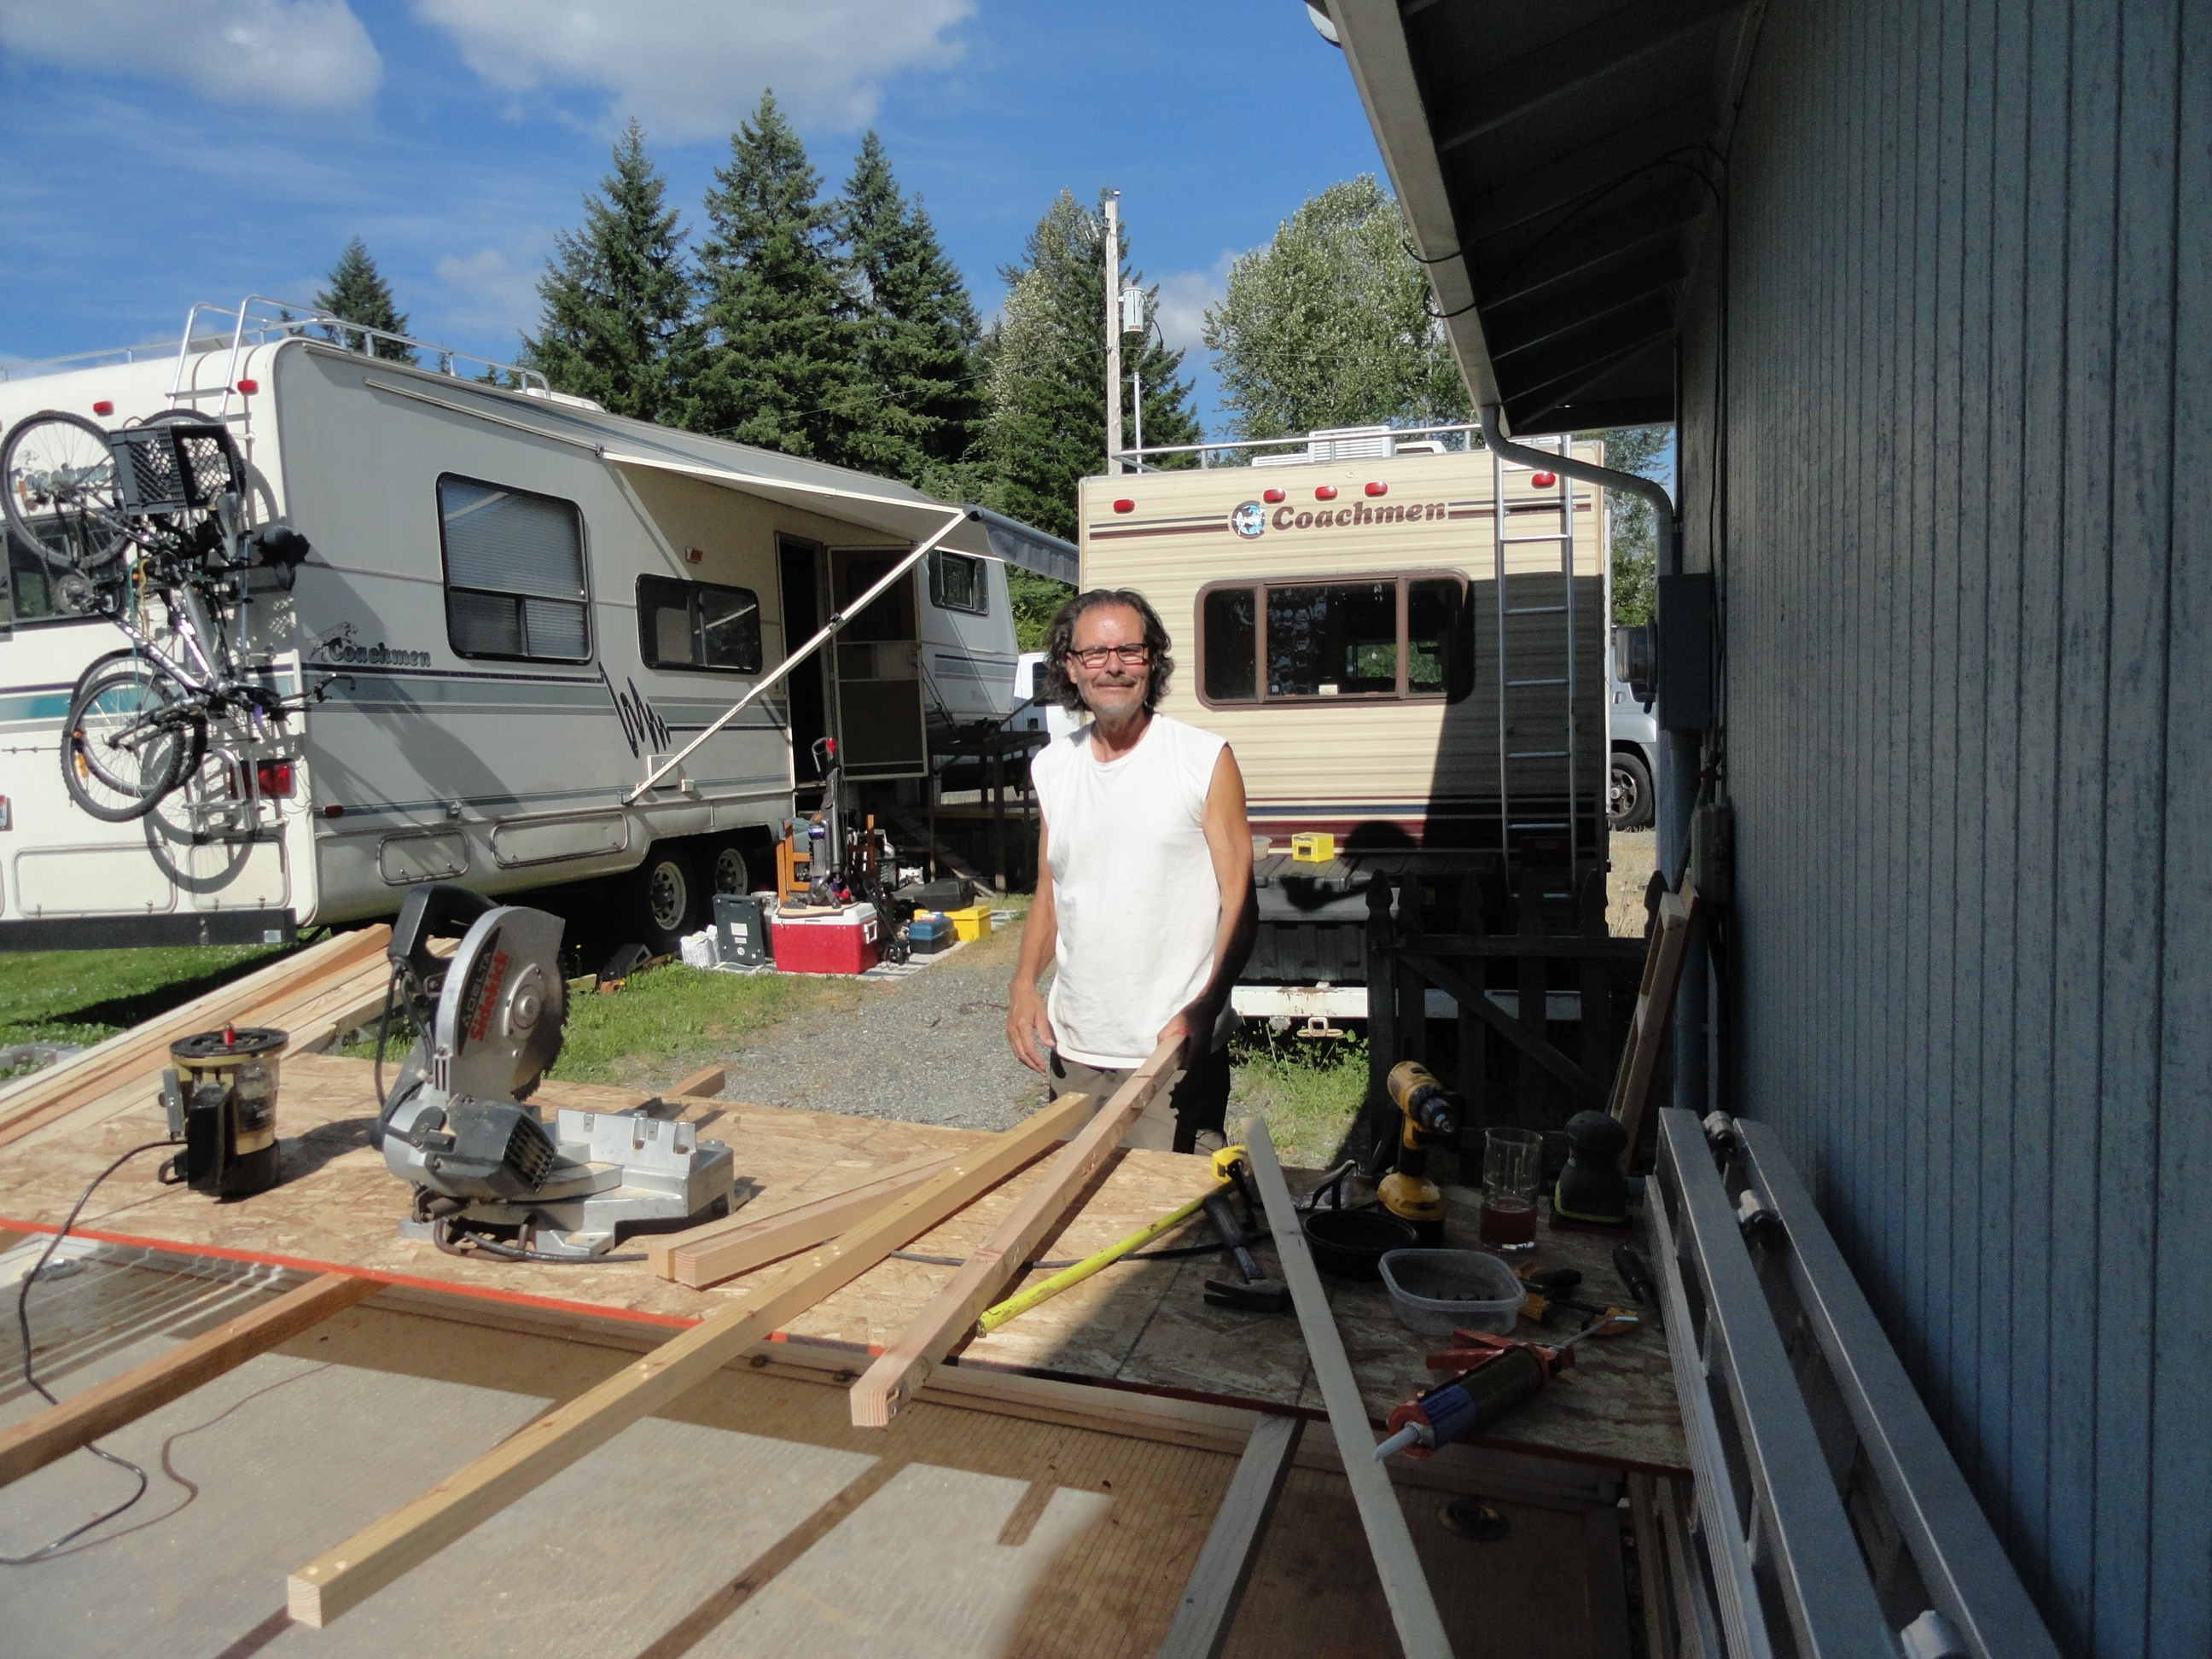
I had hoped this storage enclosure would be 18″ tall but 16″ seemed a better fit plus the hinge-up bed platform adds another 2″ (and none of our individual items are taller than 16″) so I kept the storage box height at 16″. Although the mattress is 5′ wide, the storage box under the bed platform is only 4′ wide and 5-1/2′ long — giving us an extra 6″ down both sides *and* at the foot of the bed so we won’t be banging our toes on any outside corners.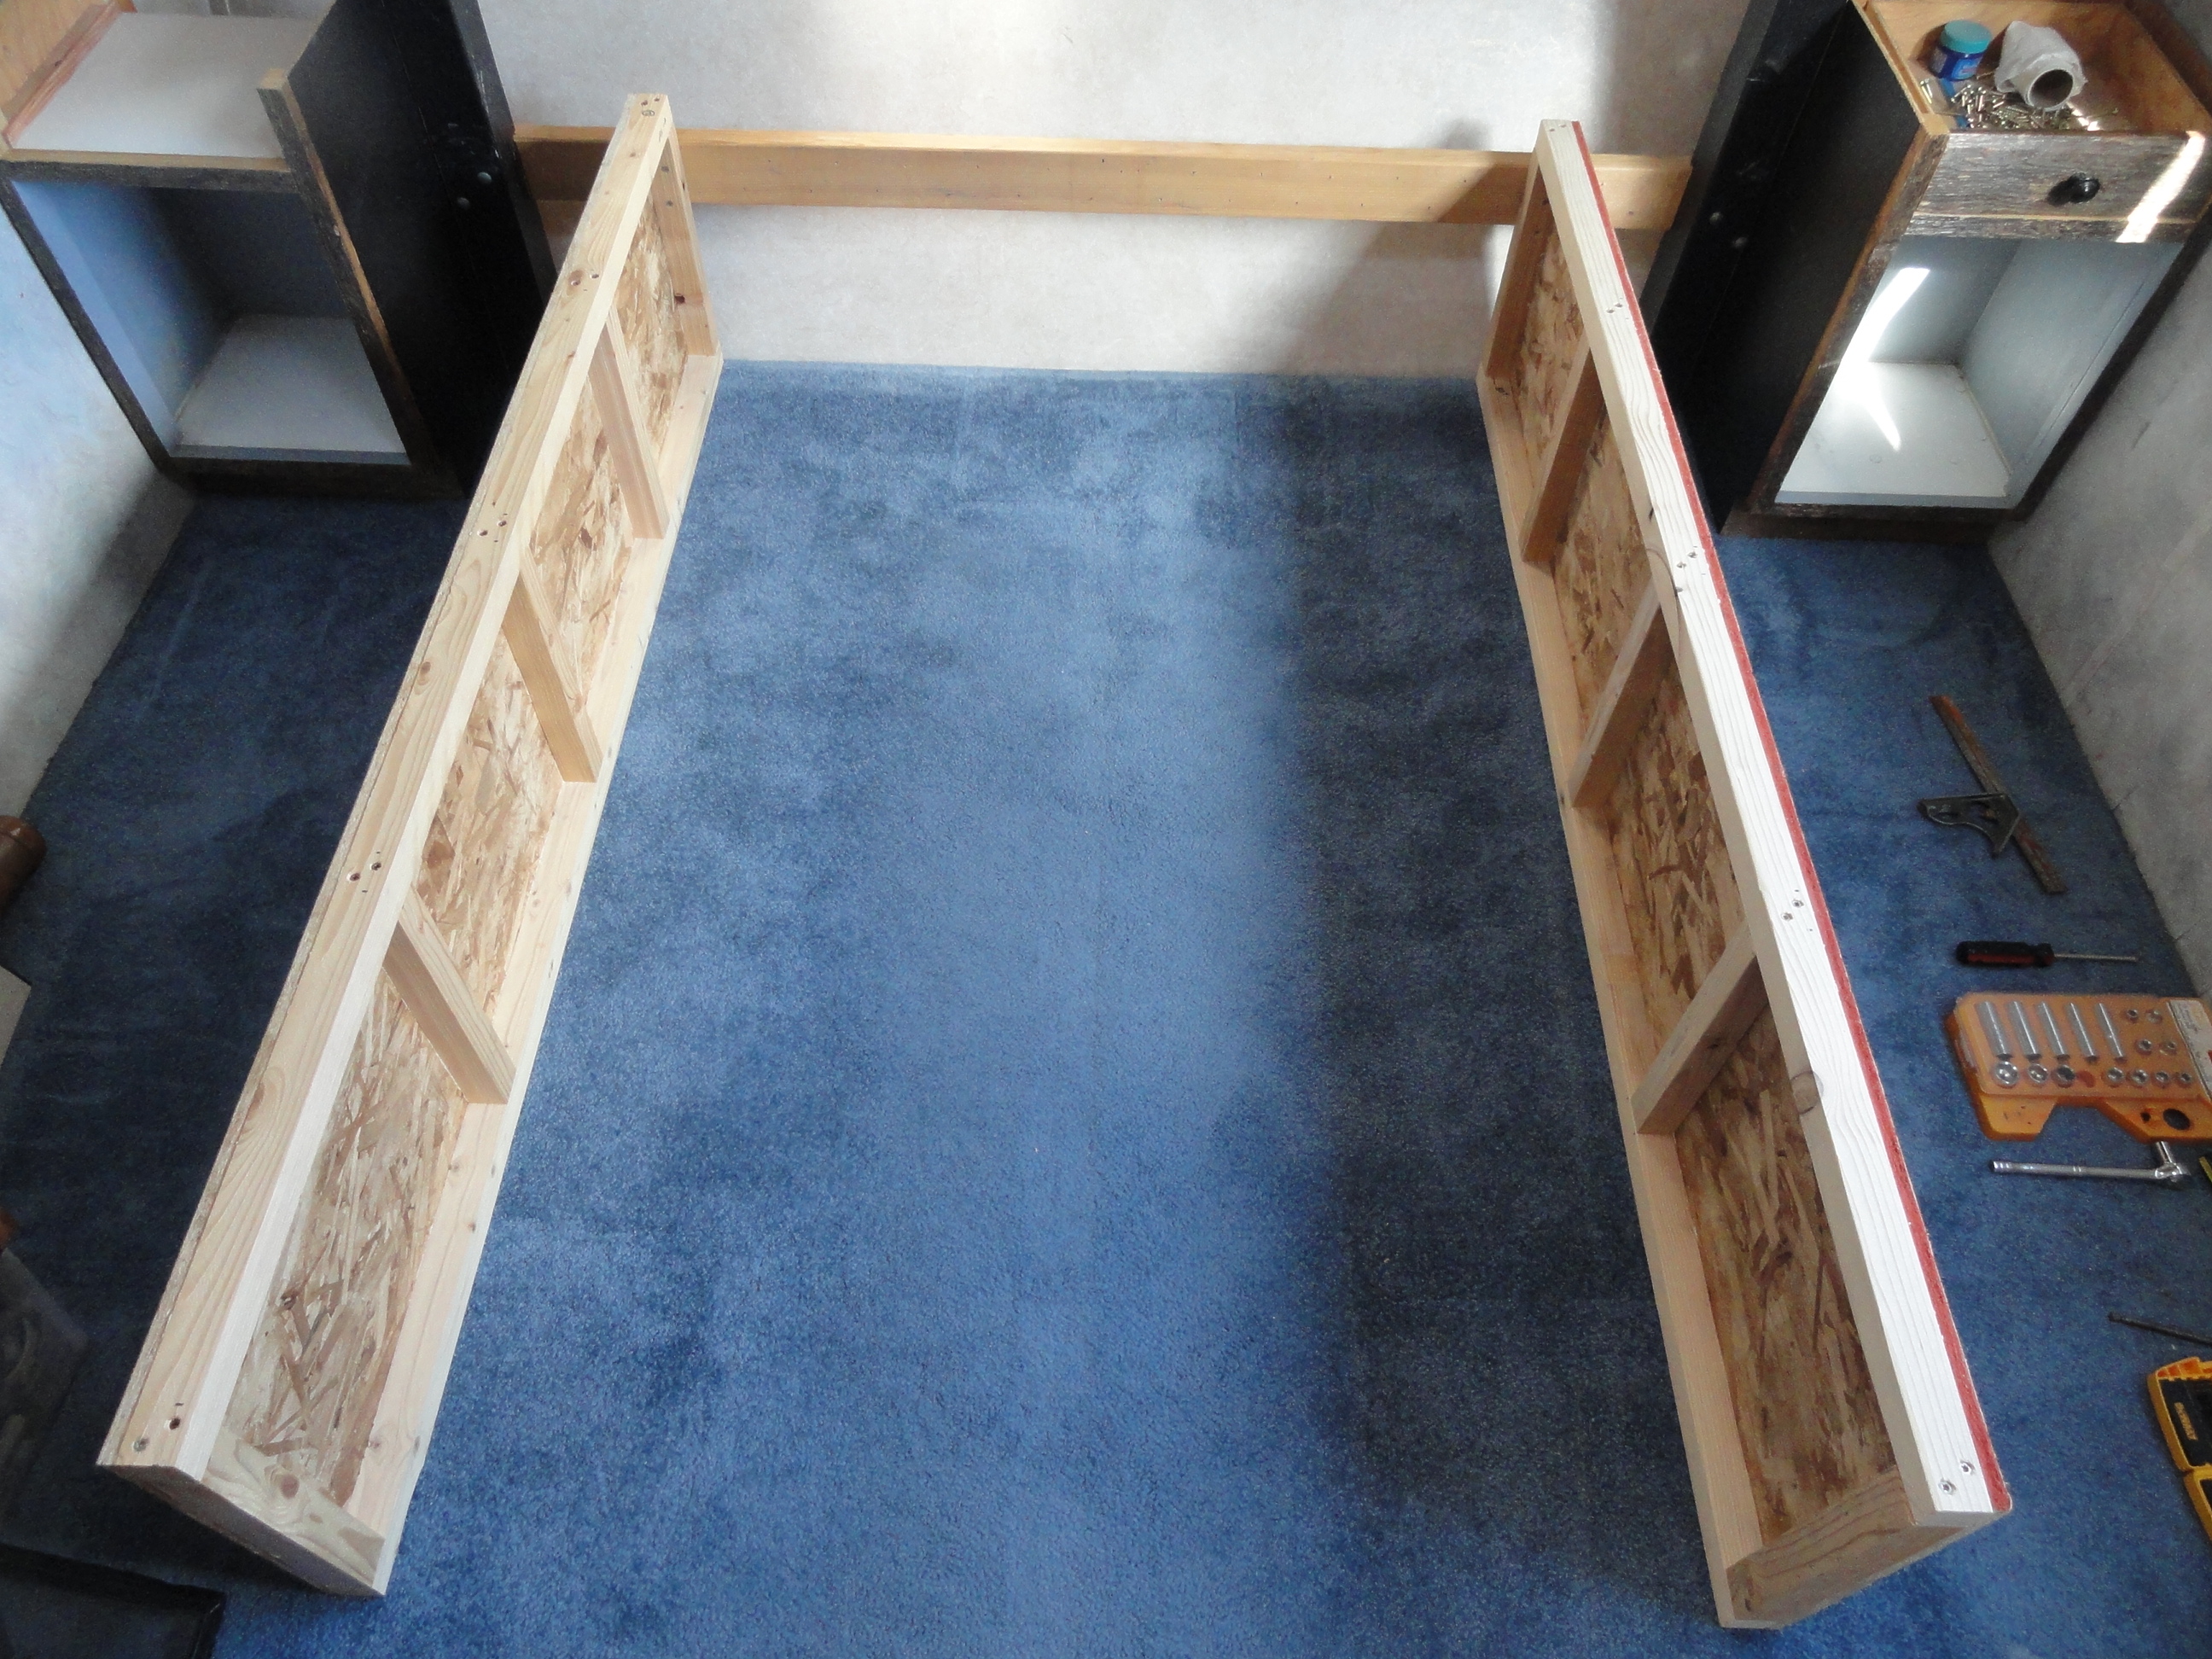
I arbitrarily decided the hinge-up platform should be 2″ narrower (58″ finished width) and 1″ shorter than our mattress so we’re not banging our shins against any hard corners on the bed platform either. Once the first piece (see below) was screwed down, we flopped our mattress in place and measured from the foot end of the storage box to the end of the mattress (minus 1″) to get the length of the hinge-up platform. As it turned out, though, our sloping front wall stopped the mattress at some point but our 4″ memory foam “topper” stopped sooner . . . with a bunch of it overhanging the mattress at the foot of the bed . . . so we slid our mattress rearward a bit (allowing the mattress *and* the memory foam topper to line up better). This still leaves us plenty of room at the foot of our bed and the increased overhang beyond the hinge-up platform doesn’t seem to be a problem. We can even run our regular house-type upright vacuum cleaner through there = no problem.
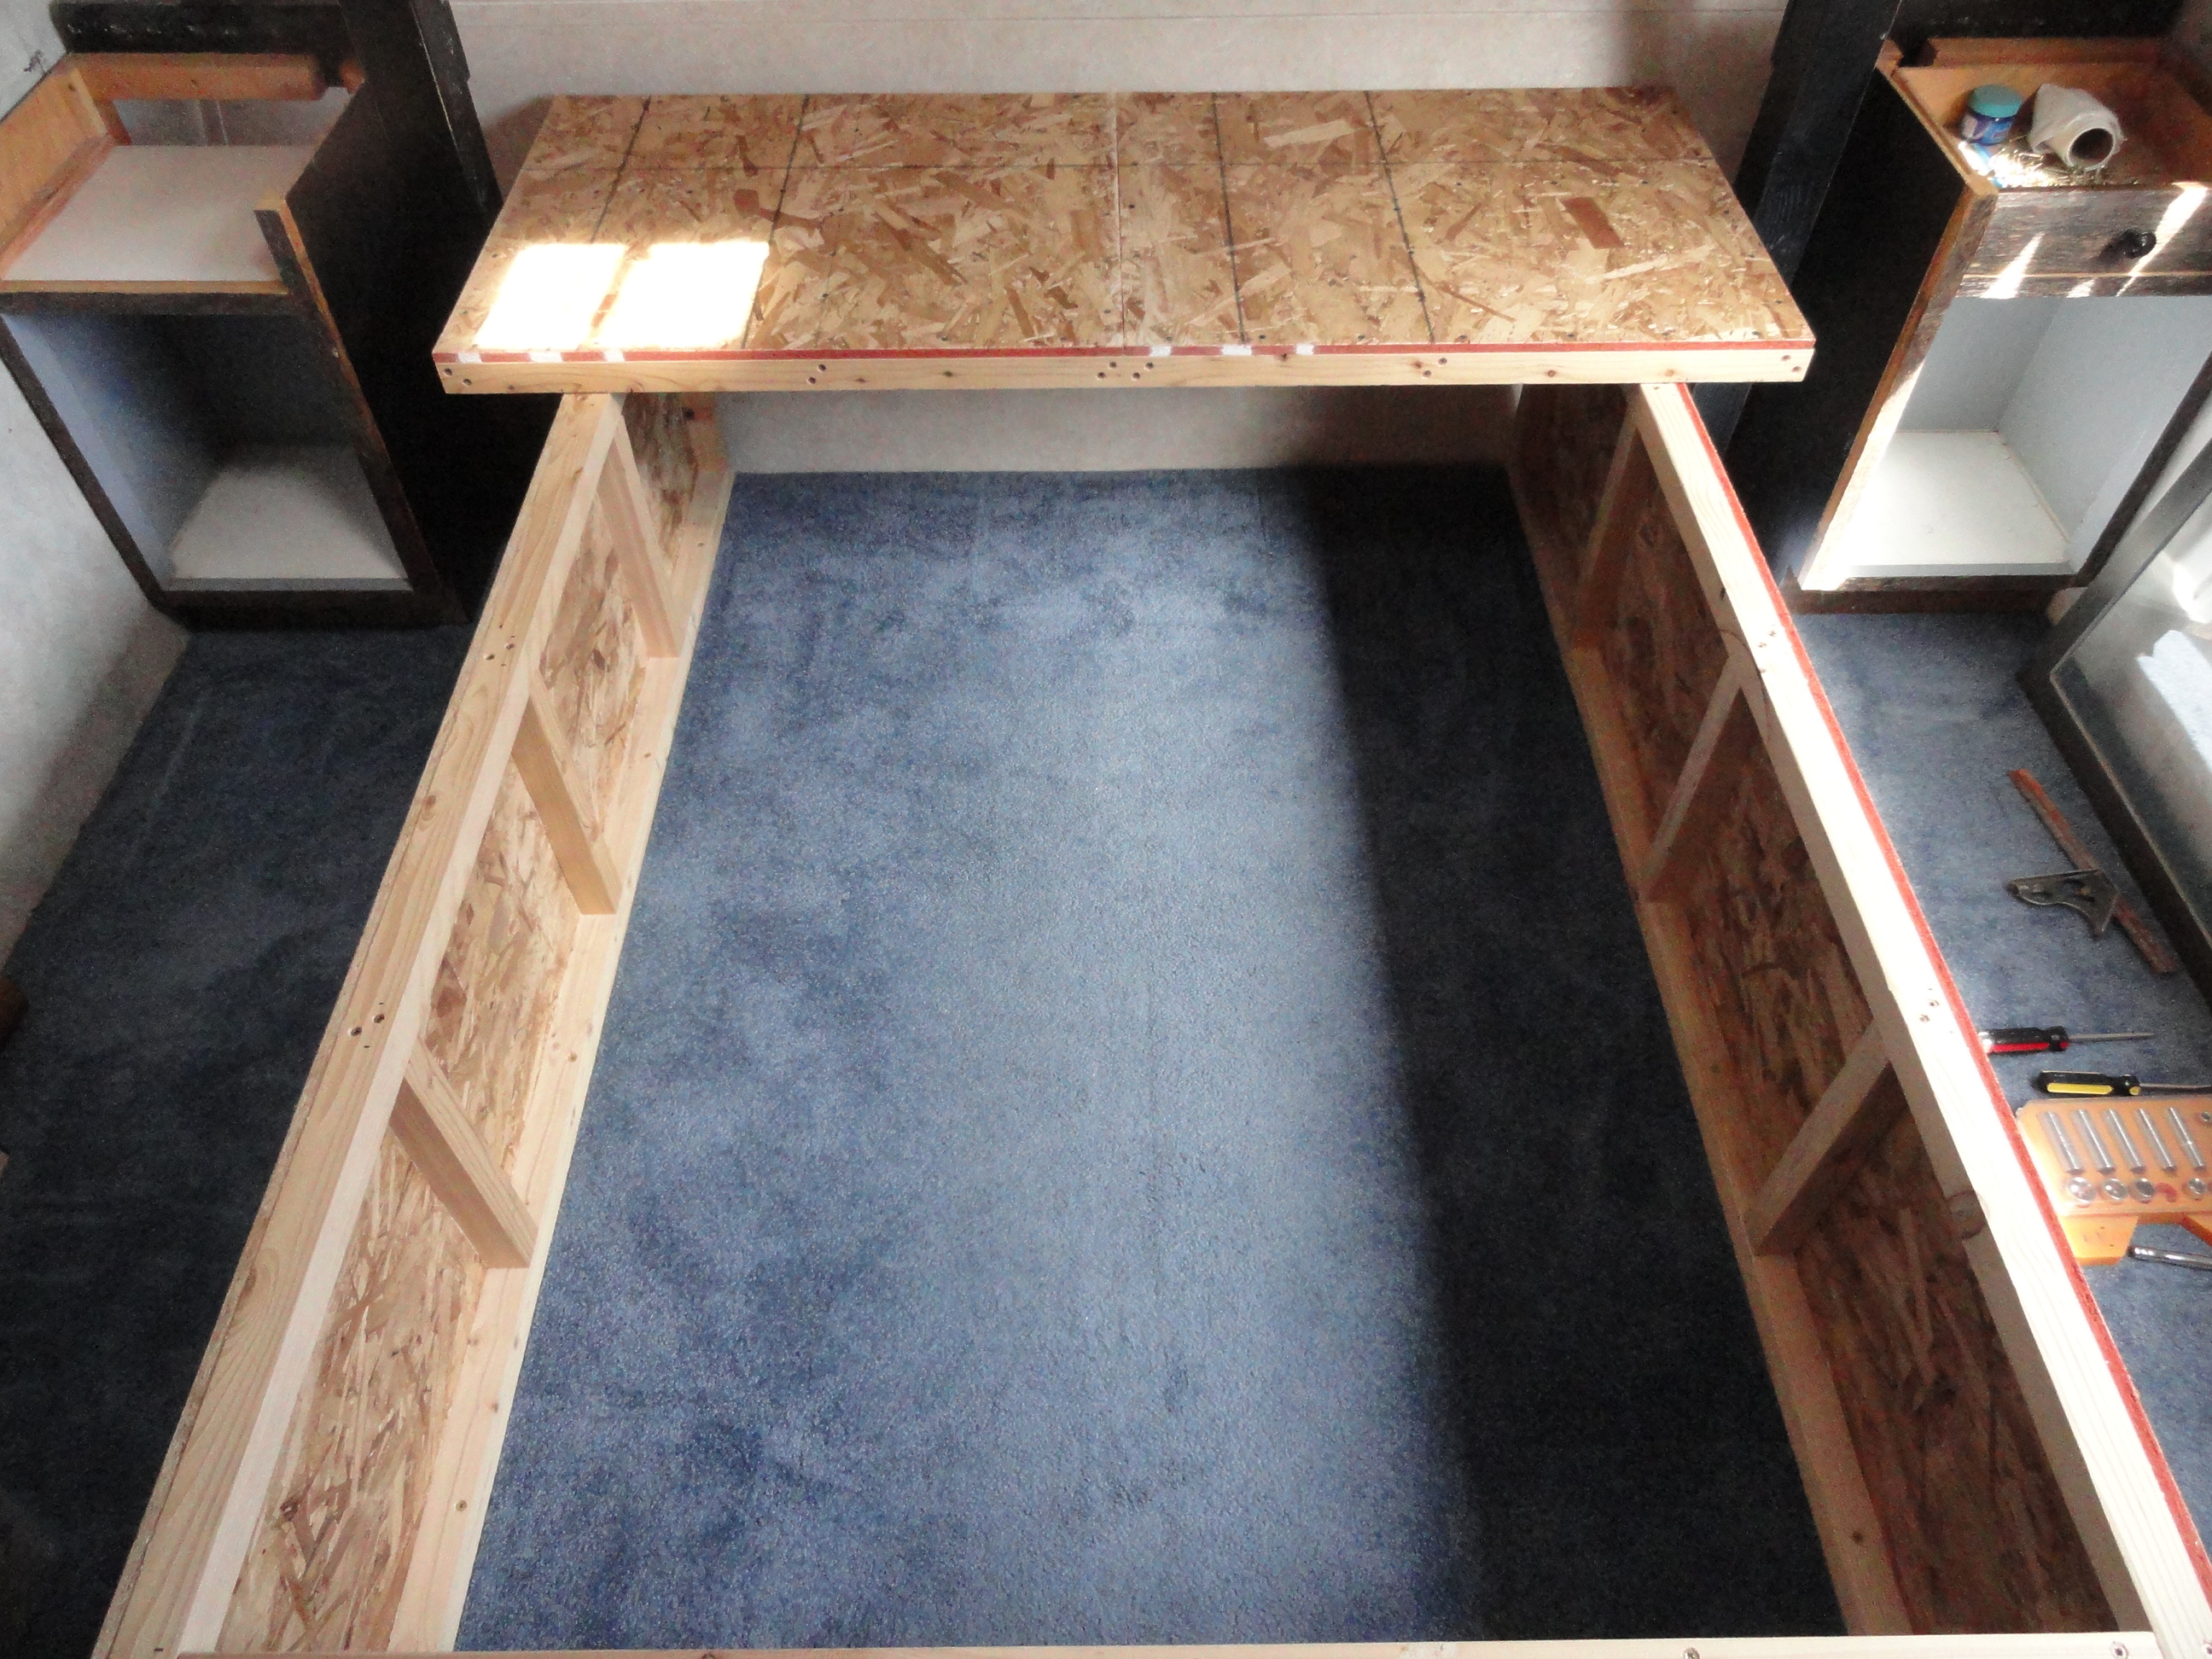

Due to the shape of the front end of our RV, a portion of the bed platform (under the pillows) just hangs out in mid-air (no support below it). I wanted this piece big enough I could screw it down to the storage box sidewalls so it ended up being 2′ by 58″. The larger hinge-up portion (58″ x 53″) is attached to this smaller piece with a 4′ long piano hinge (using a kazillion tiny screws which come with the hinge in 1/16″ pre-drilled holes). Together the two pieces are 77″ long while our mattress is 80″ long.
The basic frame construction is pine 2x2s screwed together with 3″ deck screws through pre-drilled 3/16″ holes with the studs on 16″ centers. I could’ve used 3/8″ plywood (only would have cost about two bucks more per sheet — and would have been plenty strong and lighter) but (forever in economy mode) I ended up using two sheets of 7/16″ OSB for the whole project.
(2) Sheets of 7/16″ OSB = $30 total
48″ Piano Hinge = $12
(17) 8′ Pine 2x2s = $33
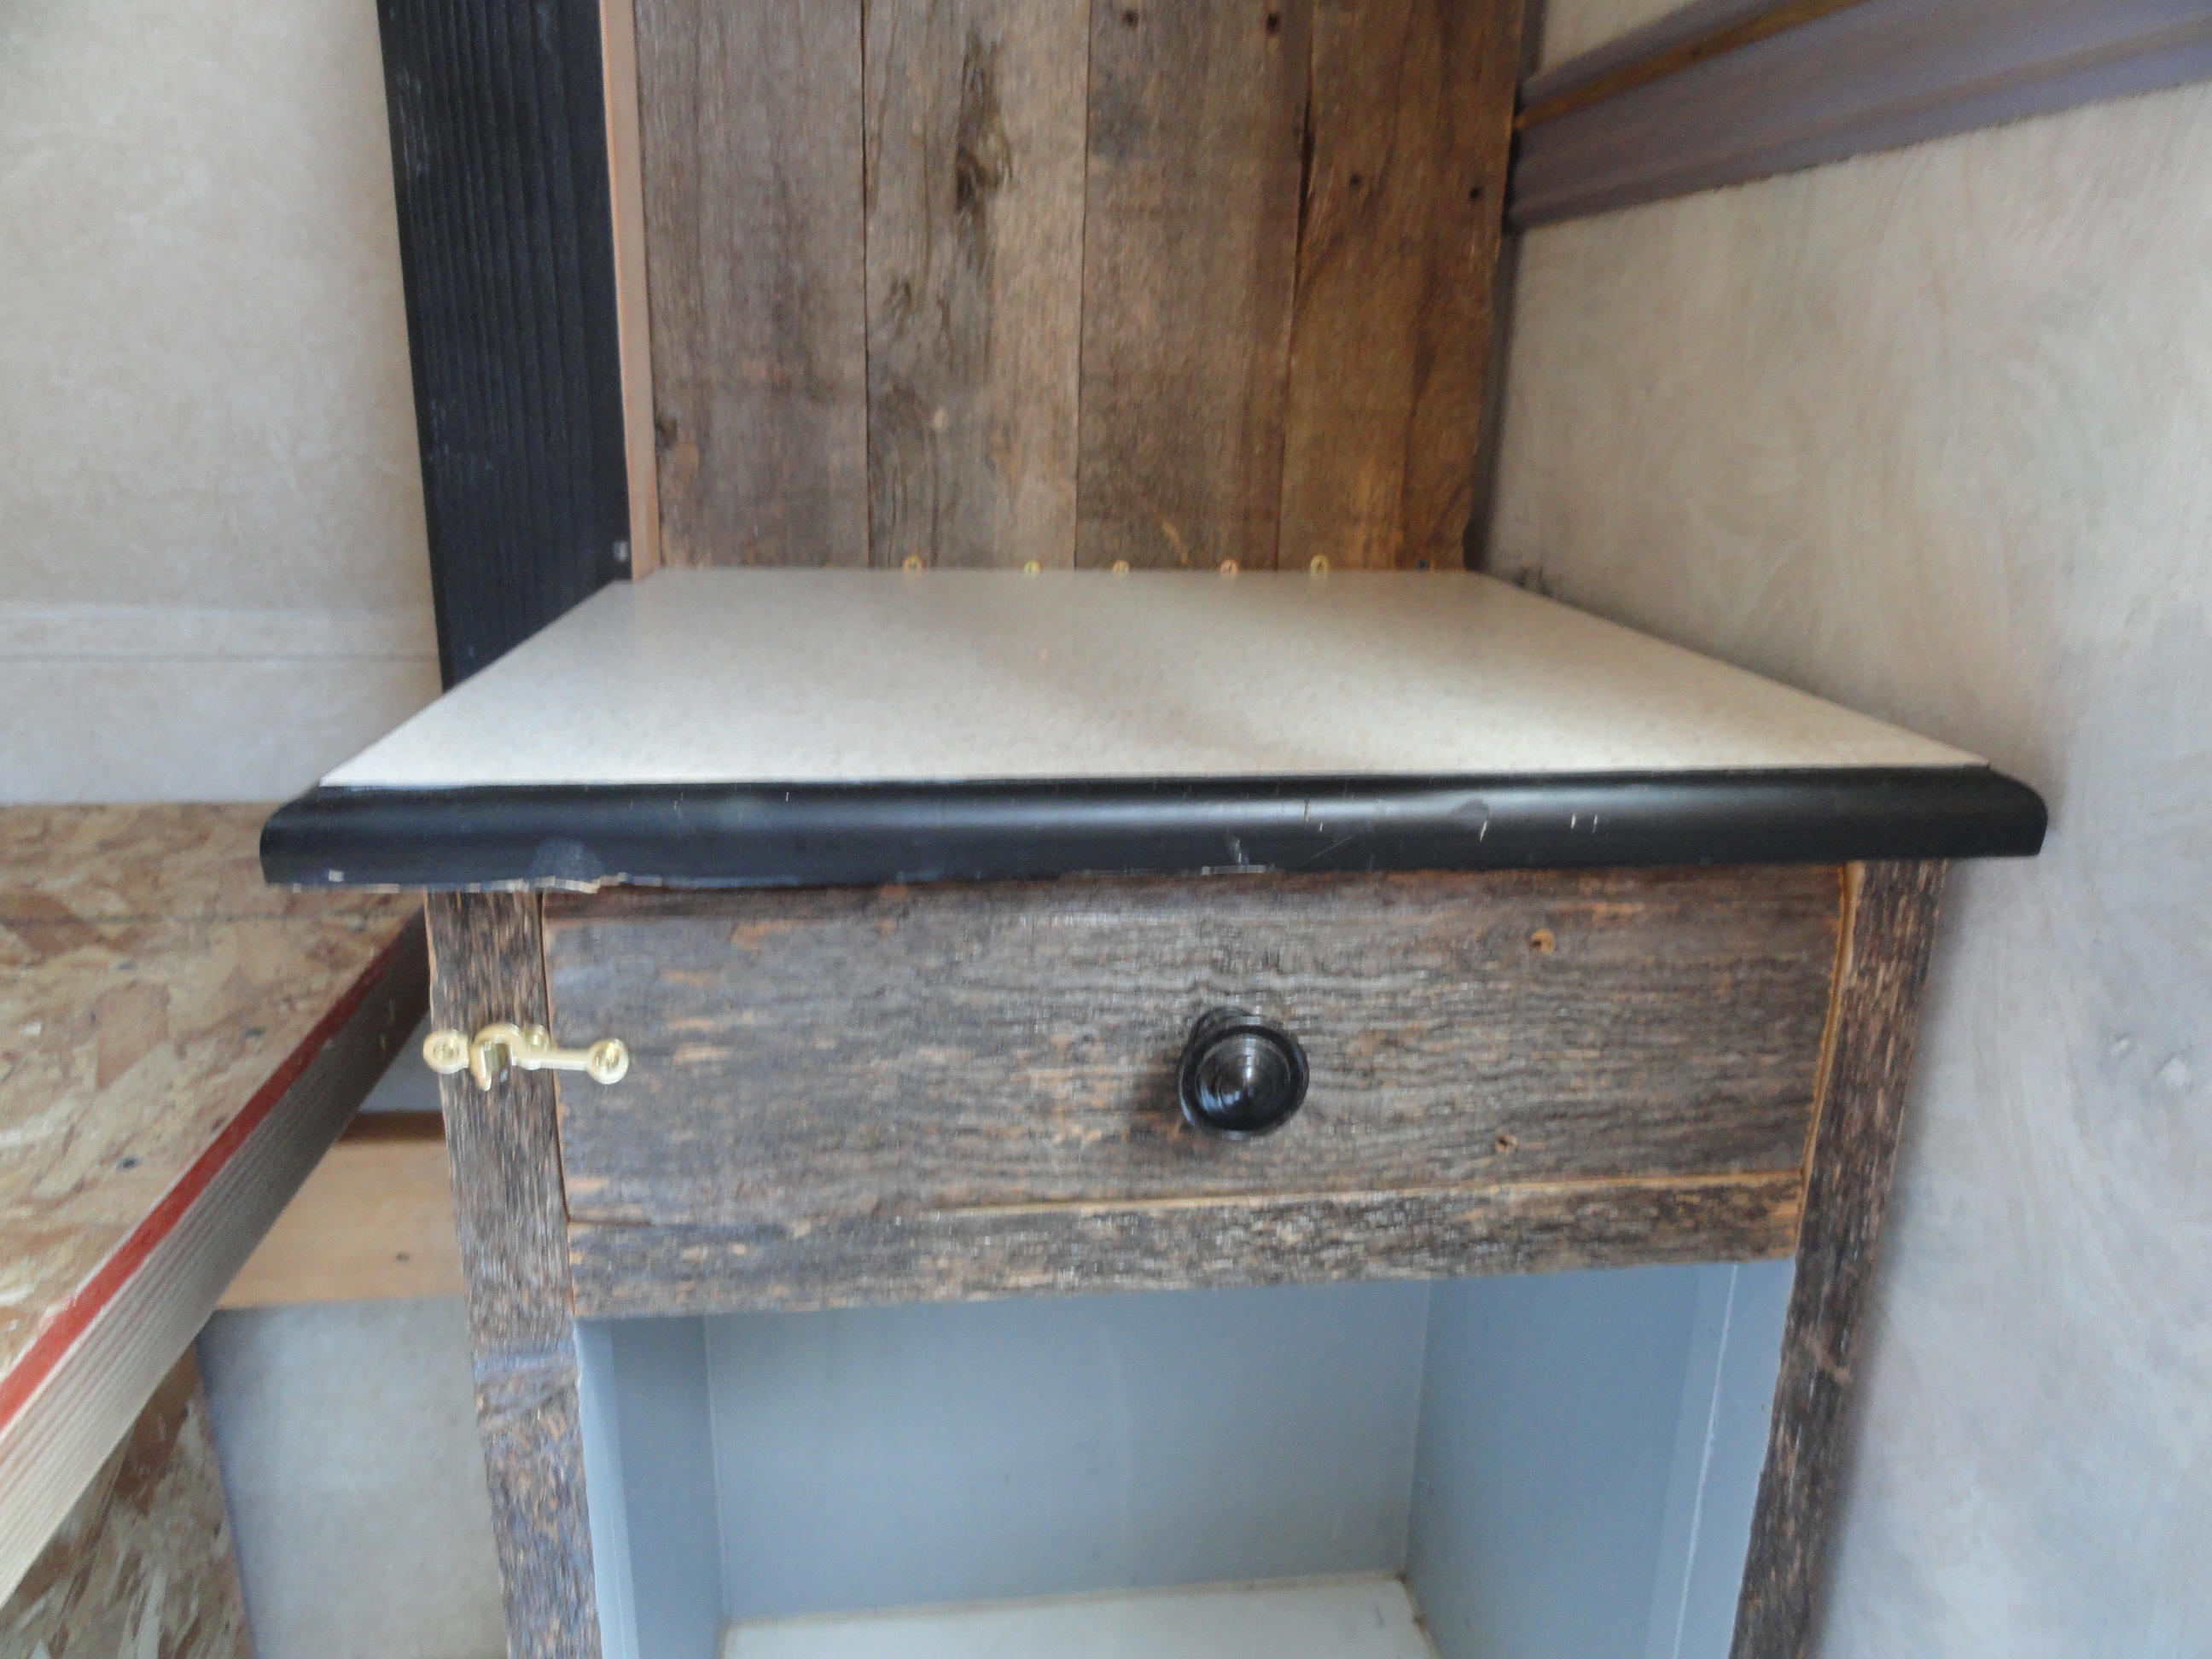
$75 total for all materials — not bad, eh? I actually brought home probably 40 of the 2x2s so I could sort through them at my leisure — use the best of them and return the rest for credit. I also bought some drill bits, a flush-trim router bit, etc. but these items will used for other projects so I didn’t charge them off to this one project. The OSB panels are secured to the 2×2 framing with 1-5/8″ sheetrock screws through 3/16″ holes pre-drilled through the OSB on 6″ centers. I also used construction adhesive between the 2×2 frames and the OSB to make everything nice and strong and squeak free (important when building a bed :). I already had the screws *and* two tubes of construction adhesive so no itemization of that cost here either. I bought two “Hobby” hook & staple things to keep our nightstand drawers from sliding out when we’re bouncing down the road — $5 total for two of those. And I secured the removeable Formica tops of the nightstands down with some L brackets that I already had on hand — again to hold them in place while going down the road. By using screws to attach the storage box to the carpeted plywood RV floor, the whole thing is removeable if we want to modify it or remove it later for any reason.
 This required a fairly extensive modification of the headboard — basically removing all the fence boards between the two 4×4 posts next to the nightstands. There is a factory mirror on the upper front sloping wall which matches another one in the living room (neither of them removable without damaging the wall surface or I would have moved it to the living room by now 🙂 and I’ll eventually cover that wall with the fence boards (cut to fit around the mirror) to match the remaining boards above the night stands. (Whether we run these old/used cedar fence boards vertical or horizontal has yet to be decided but I’m thinking the vertical option — to match those above the nightstands — is prevailing so far.)
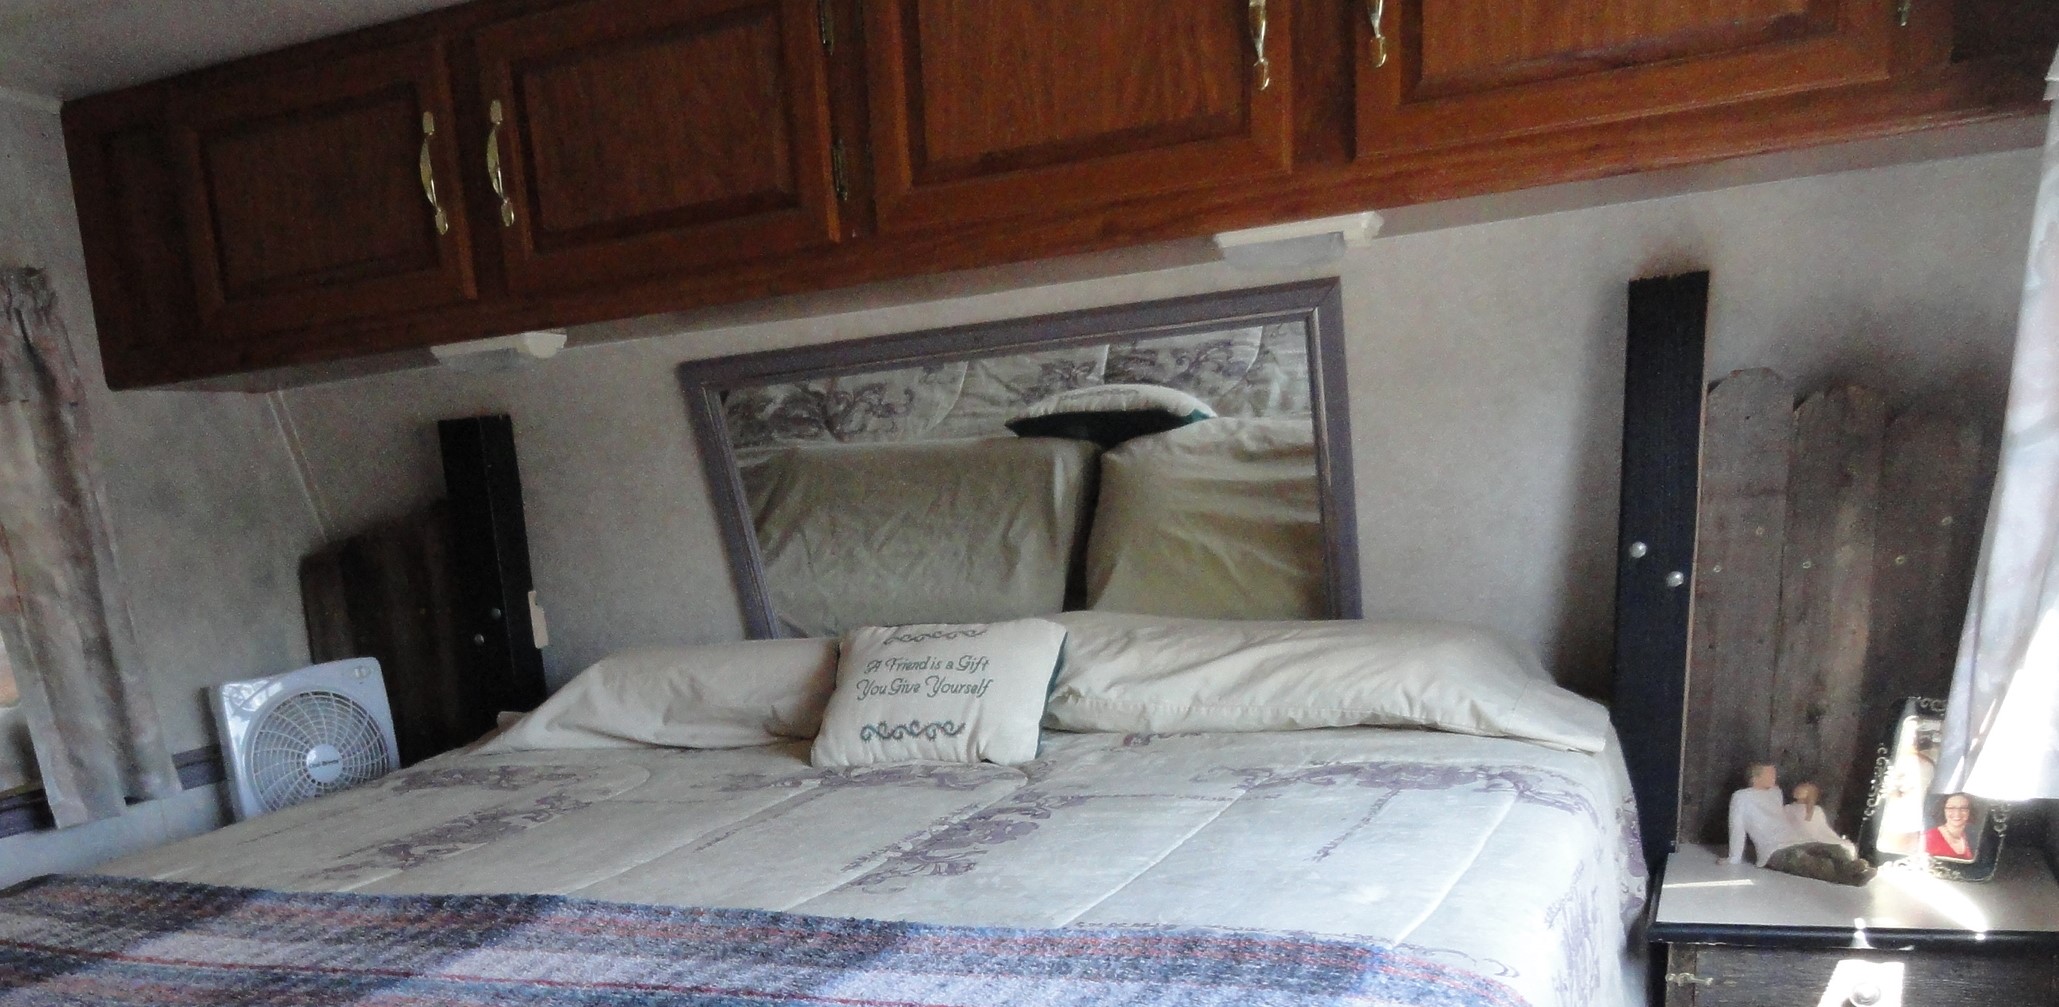
This has proven to be a sweet upgrade for our living space to keep 30 cubic feet of stuff we don’t use all that often under our bed and out of sight.
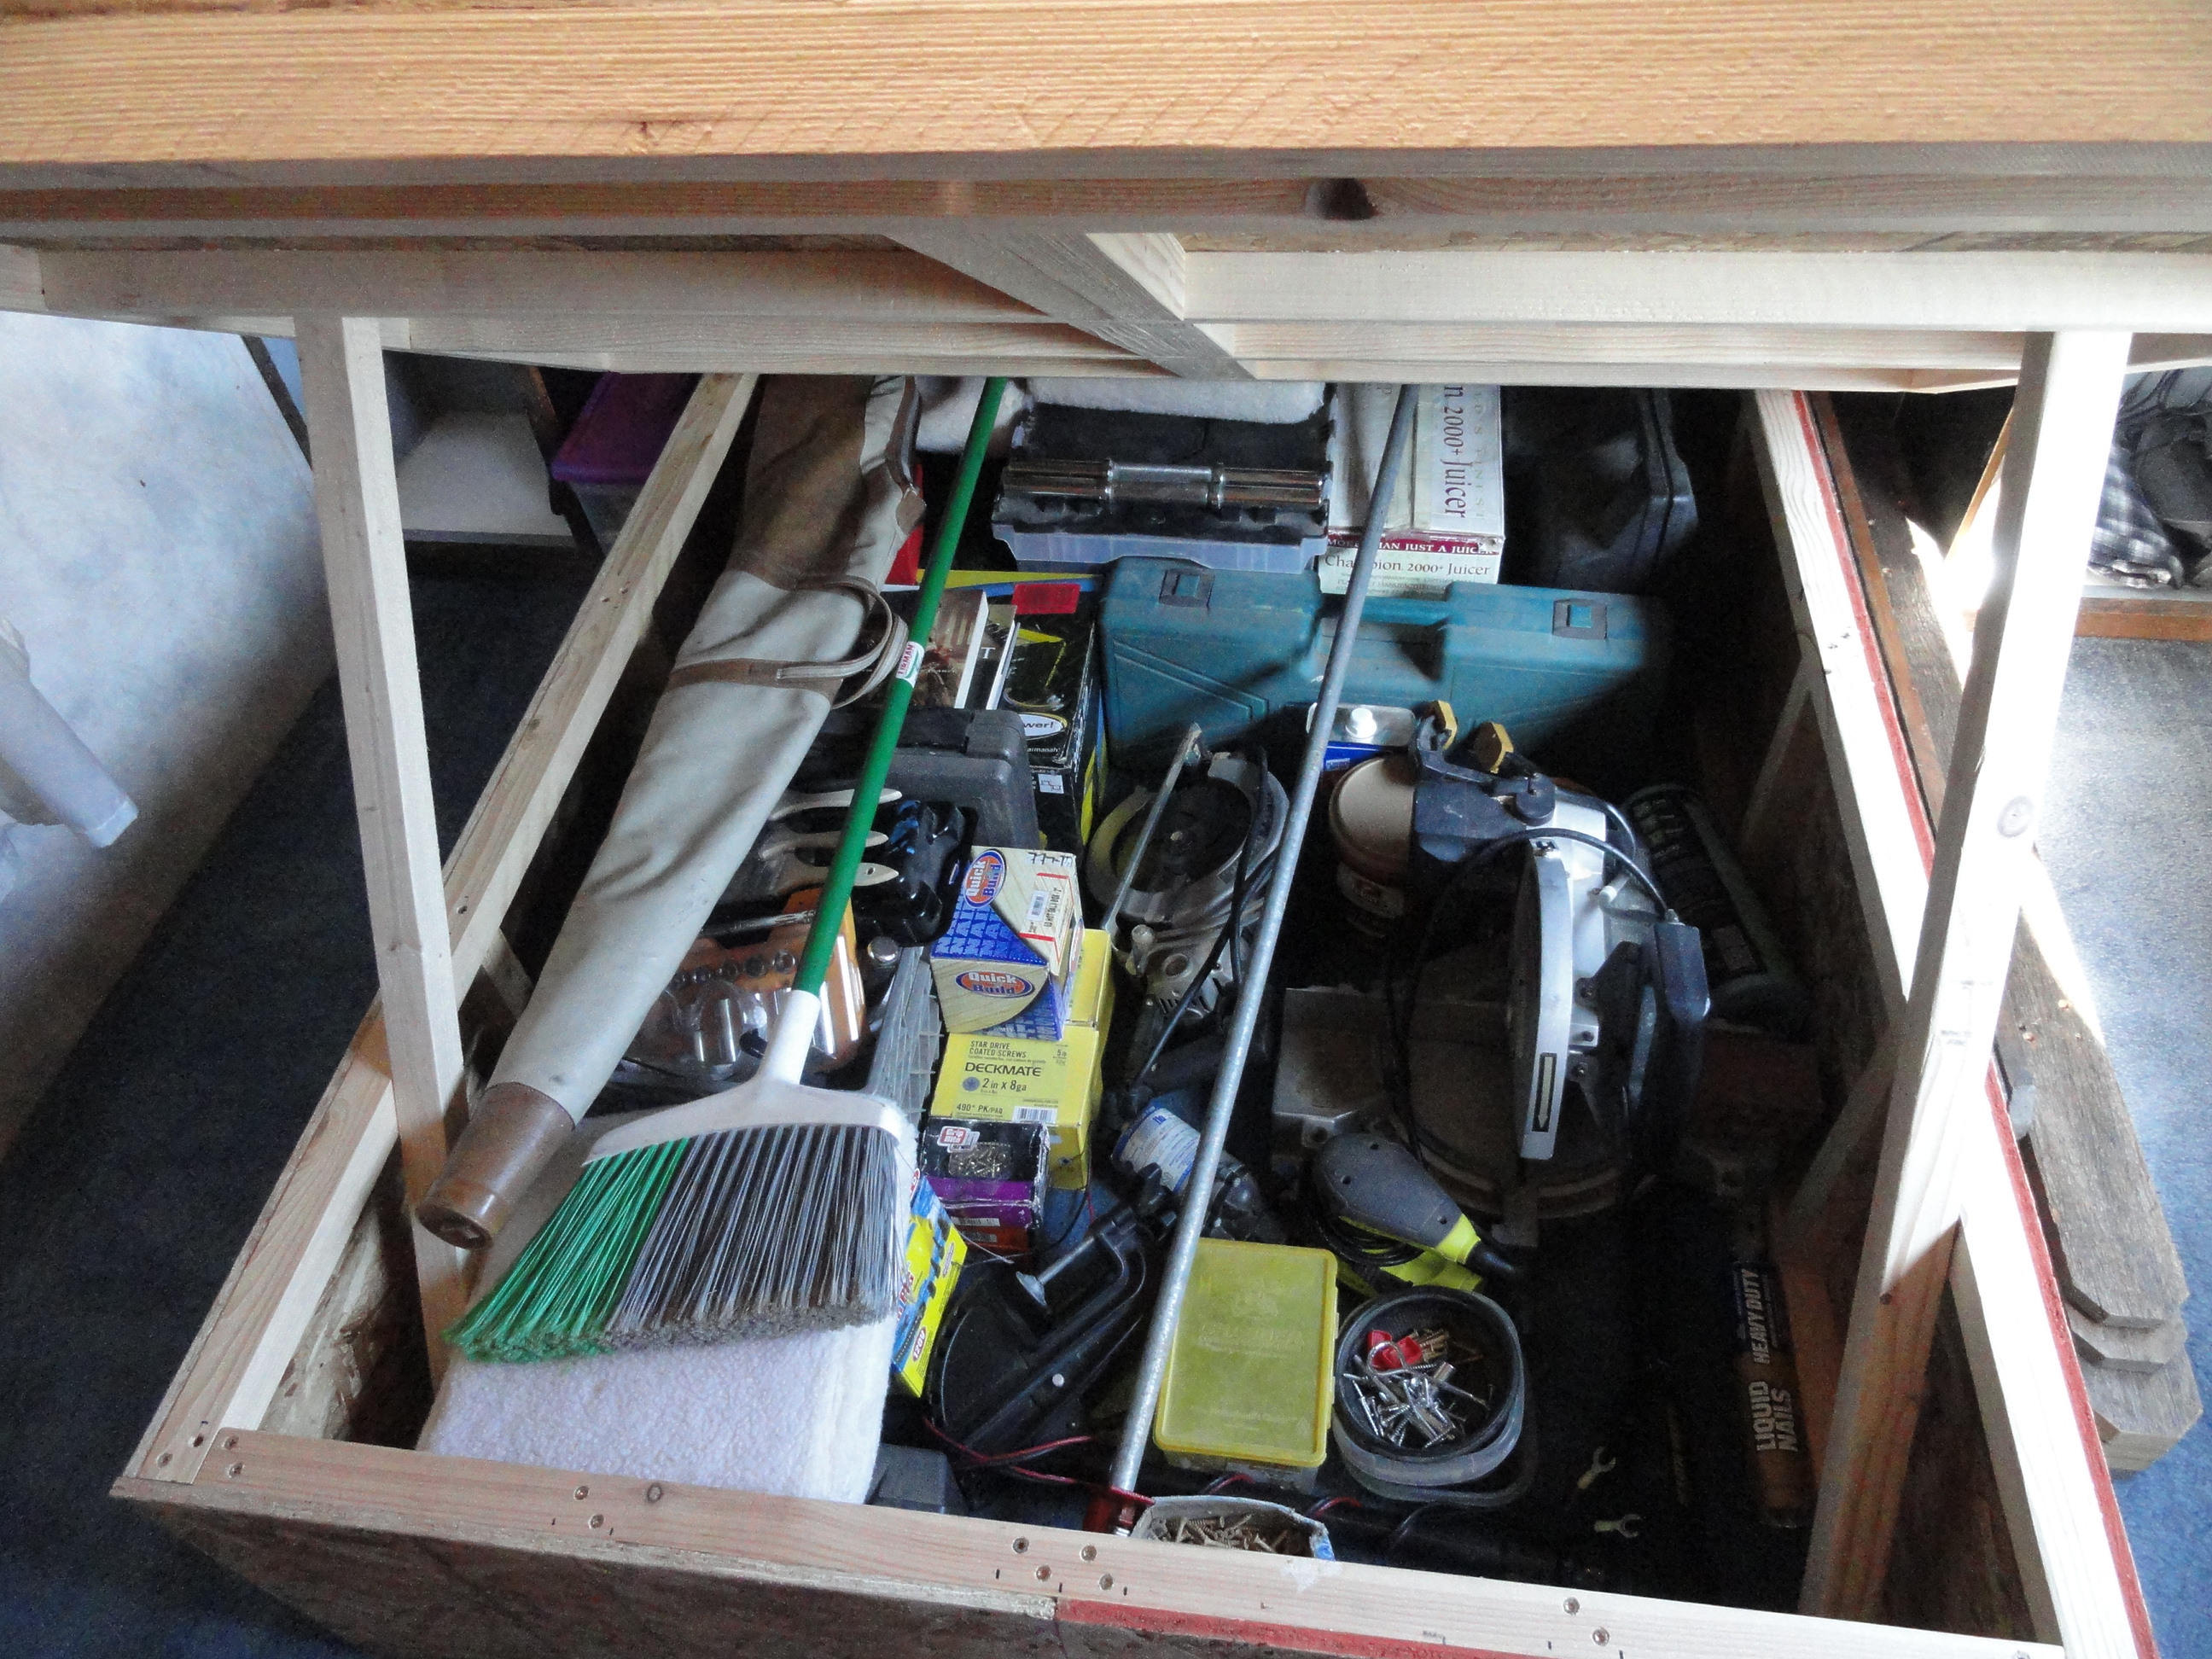
Before we stored most of these things in our living room/kitchen and the rest in the back seat of our crew-cab truck which worked well enough but we’d much rather have them stashed out of sight somewhere. Annie has actually developed a rather strong and determined opinion that all of this stuff needs to be kept out of sight and properly stashed at ALL times. Where did THAT come from? I feel like an enabler 🙂


Looks like it came out great you guys! Glad we could find the time between all the fun we were having to get it done, lol!
I hope I’ll see you soon, but I will be solo this trip in the new toyhauler!
We’re very happy with it. It does raise our bed up quite high and we have to be careful not to bonk our pointy heads on the overhead cabinets 🙂 That’s the perfect deal for me = be able to build on something for a few hours each day and goof off the rest 🙂
It looks good!
Thanks Rob — we may paint the base one day but can hardly see it anyway with the bed made up. It was surprising how much stuff we could stash in there 🙂